Distributed Inference with DeepSeek-V3-671B
HPC-AI.com delivers stable, efficient, and high-performance computing resources.
This tutorial demonstrates how to perform multi-node distributed inference of DeepSeek-V3-671B using our HPC-AI.com cloud platform. We use SGLang as our example framework to enable scalable and efficient high-performance model serving across multiple machines.
Step 0: Prepare Your Model
You can run custom models by uploading them to your instance or shared storage.
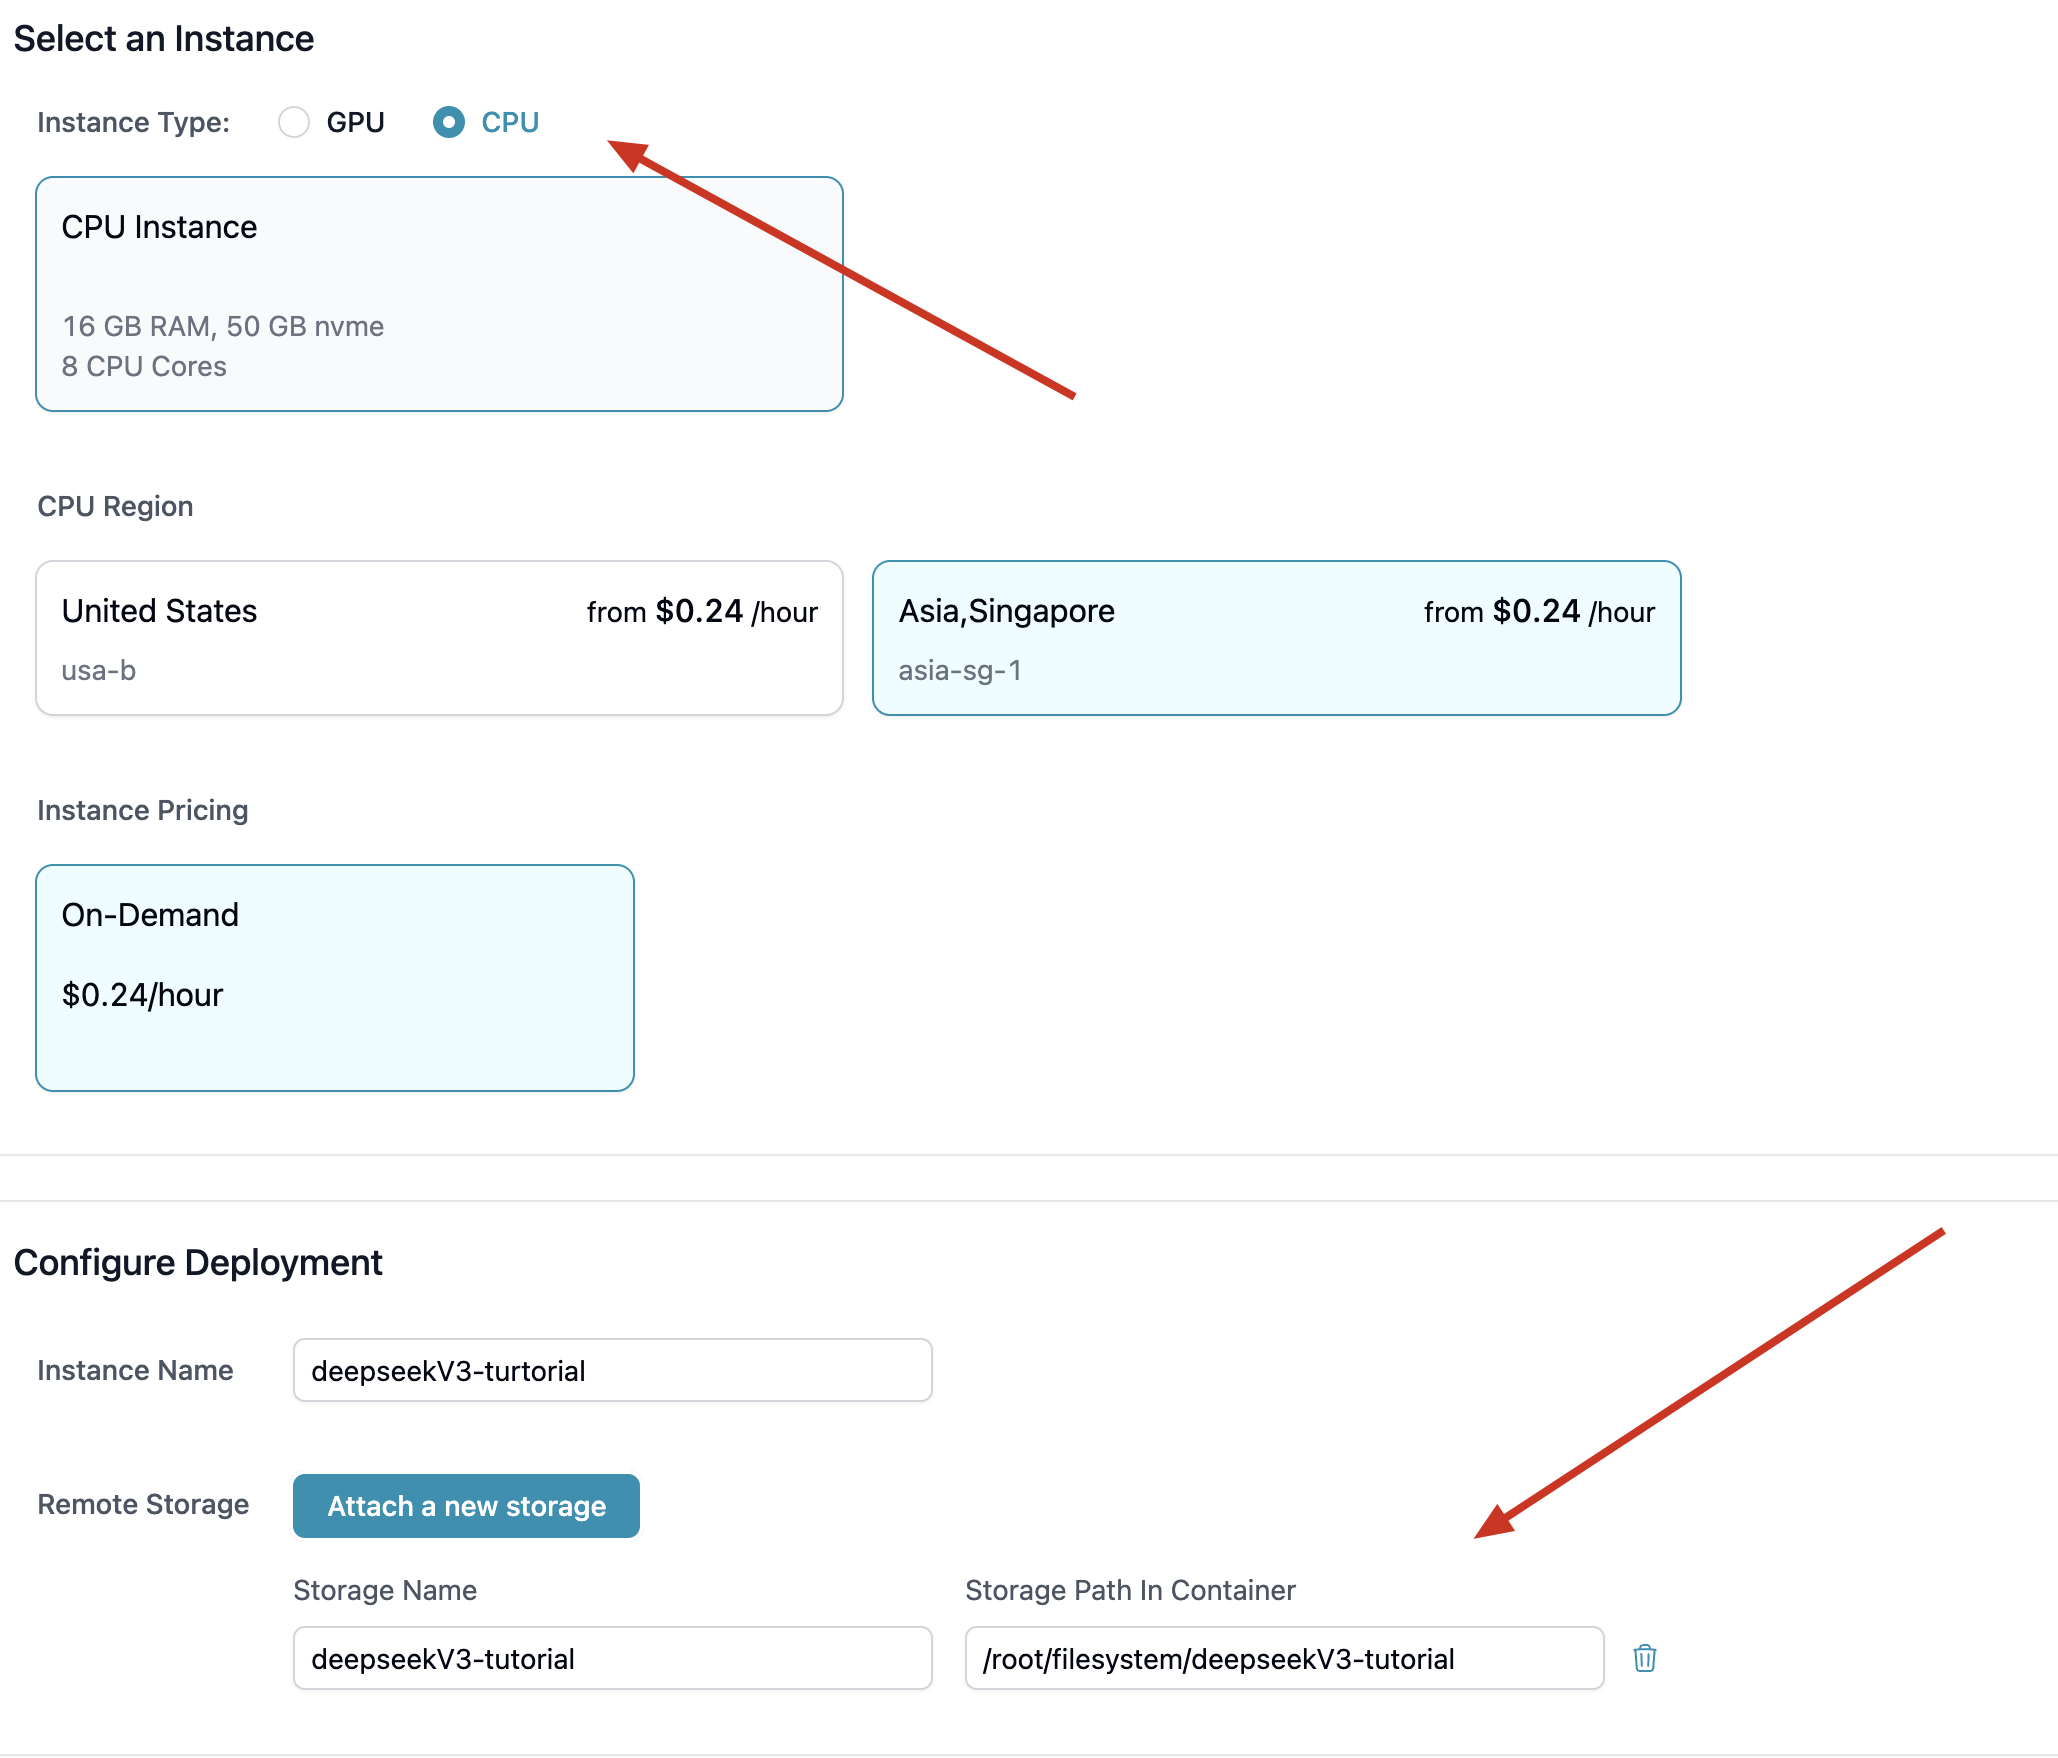
Example: Mounting DeepSeek-V3 via Shared Storage
-
Create shared storage (up to 1000GB) for multi-node access.

-
Launch an instance in the same region and mount the shared storage during configuration.
-
Access the shared directory via Jupyter or SSH and download the model from HuggingFace:
pip install huggingface_hub
huggingface-cli download --resume-download deepseek-ai/DeepSeek-V3 \
  --local-dir ./models/DeepSeek-V3
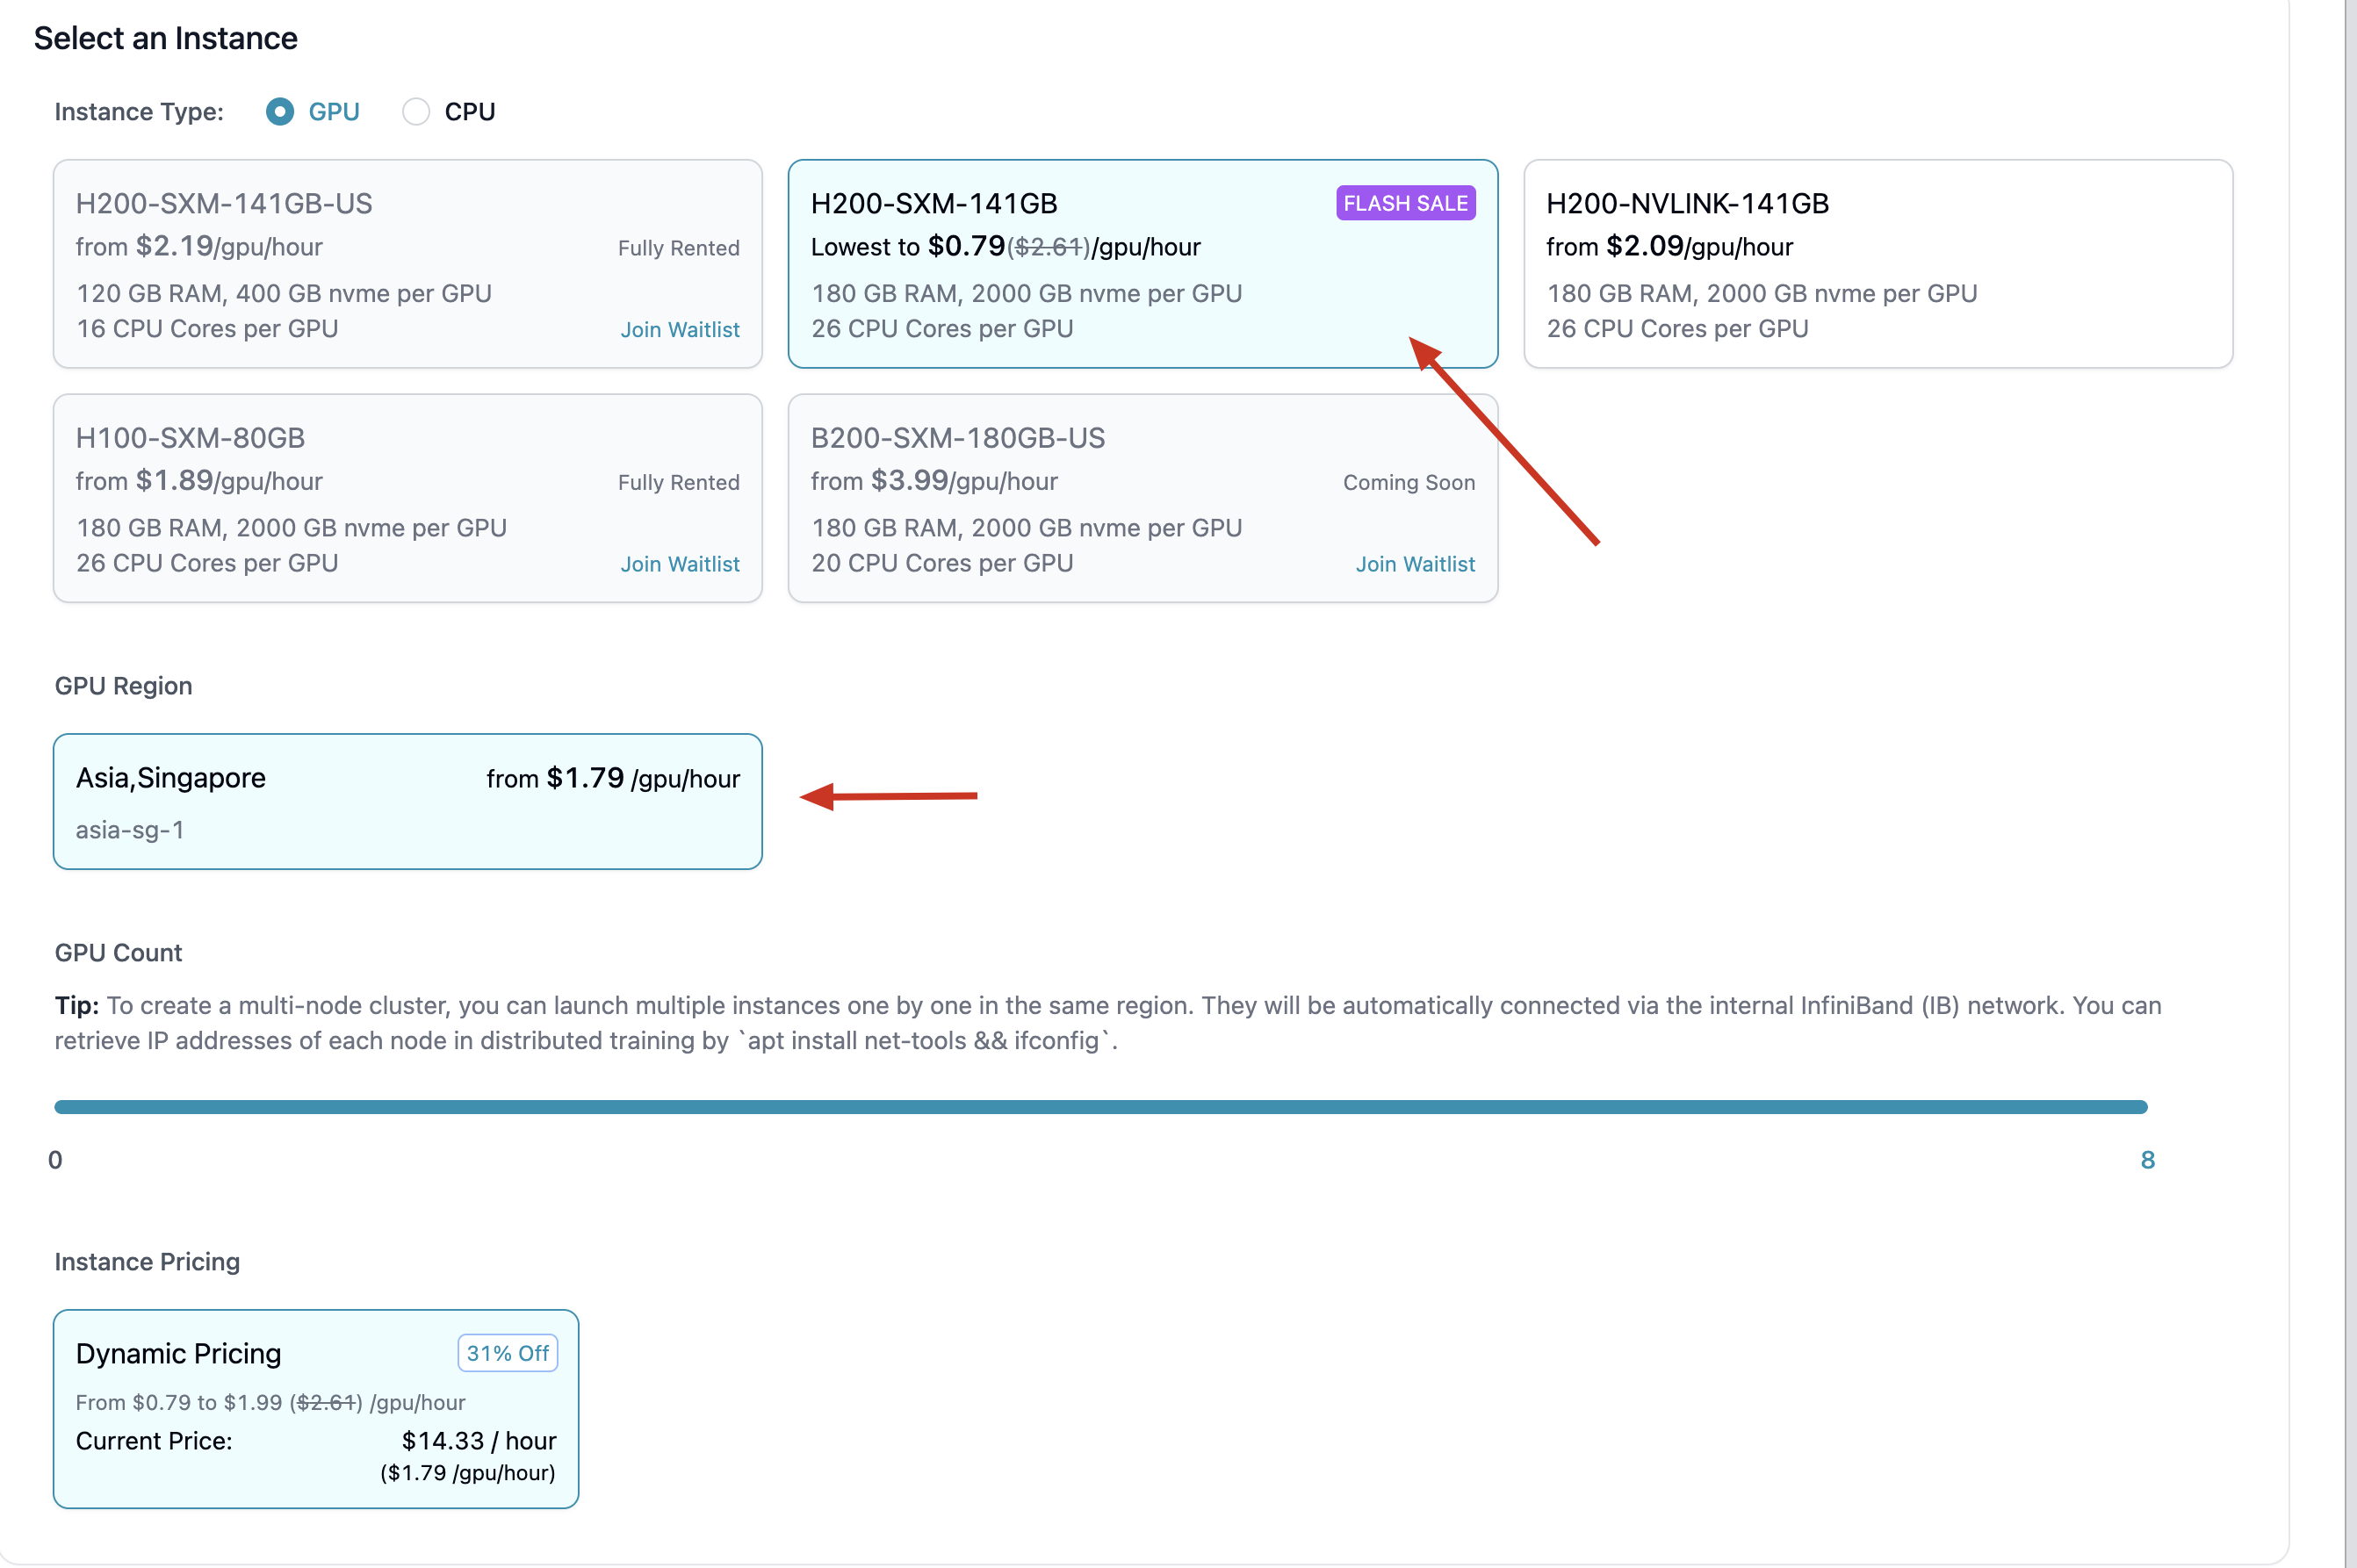
Step 1: Configure Your Instances
-
Launch two H200 x 8 instances in the same region and attach the shared storage.
-
Enable high-performance networking (InfiniBand/IBGDA):
export NCCL_IB_GID_INDEX=3
export NCCL_SOCKET_IFNAME=eth0
export NCCL_IB_DISABLE=0

# (Optional) Enable debugging:
# export CUDA_LAUNCH_BLOCKING=1
# export NCCL_DEBUG=INFO
Step 2: Launch Distributed Inference with SGLang
We use SGLang as an example framework for scalable multi-node inference. Other frameworks like vLLM can also be used depending on your setup.
1. Environment Setup
pip install "sglang[all]>=0.4.8"
sudo apt update && sudo apt install -y libnuma1
export LD_LIBRARY_PATH=/usr/lib/x86_64-linux-gnu:$LD_LIBRARY_PATH
2. Multi-Node Launch
Install network tools and retrieve the IP address of the master node:
sudo apt-get install -y net-tools
ifconfig  # Locate eth0's inet address
Run the following commands on each node:
-
Master Node (Node 0):
python3 -m sglang.launch_server --model-path <your_model_path> --tp 16 \
  --dist-init-addr <MASTER_IP>:50000 --nnodes 2 --node-rank 0 \
--port 30000 --trust-remote-code -
Worker Node (Node 1):
python3 -m sglang.launch_server --model-path <your_model_path> --tp 16 \
  --dist-init-addr <MASTER_IP>:50000 --nnodes 2 --node-rank 1 \
  --port 30000 --trust-remote-code
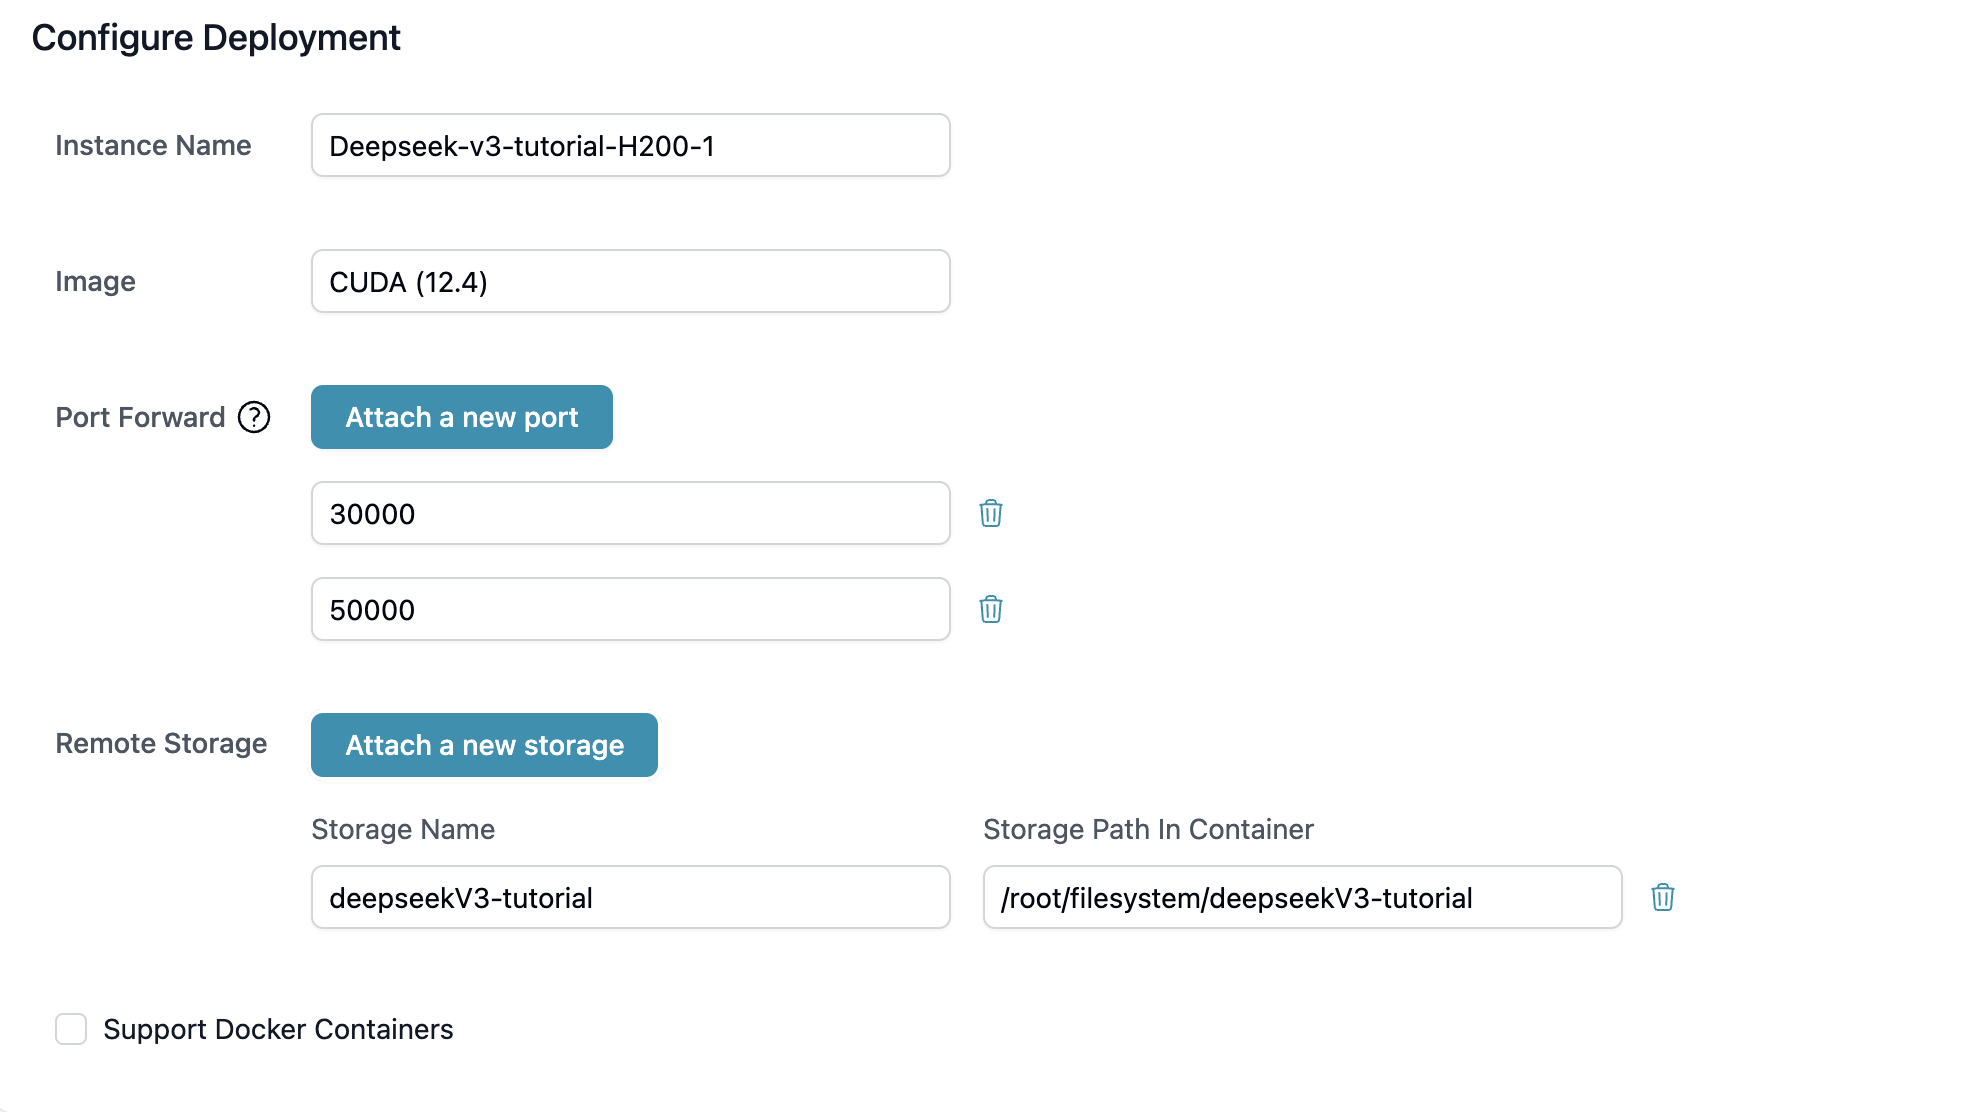
Step 3: Publish, Manage, and Monitor Your Service
-
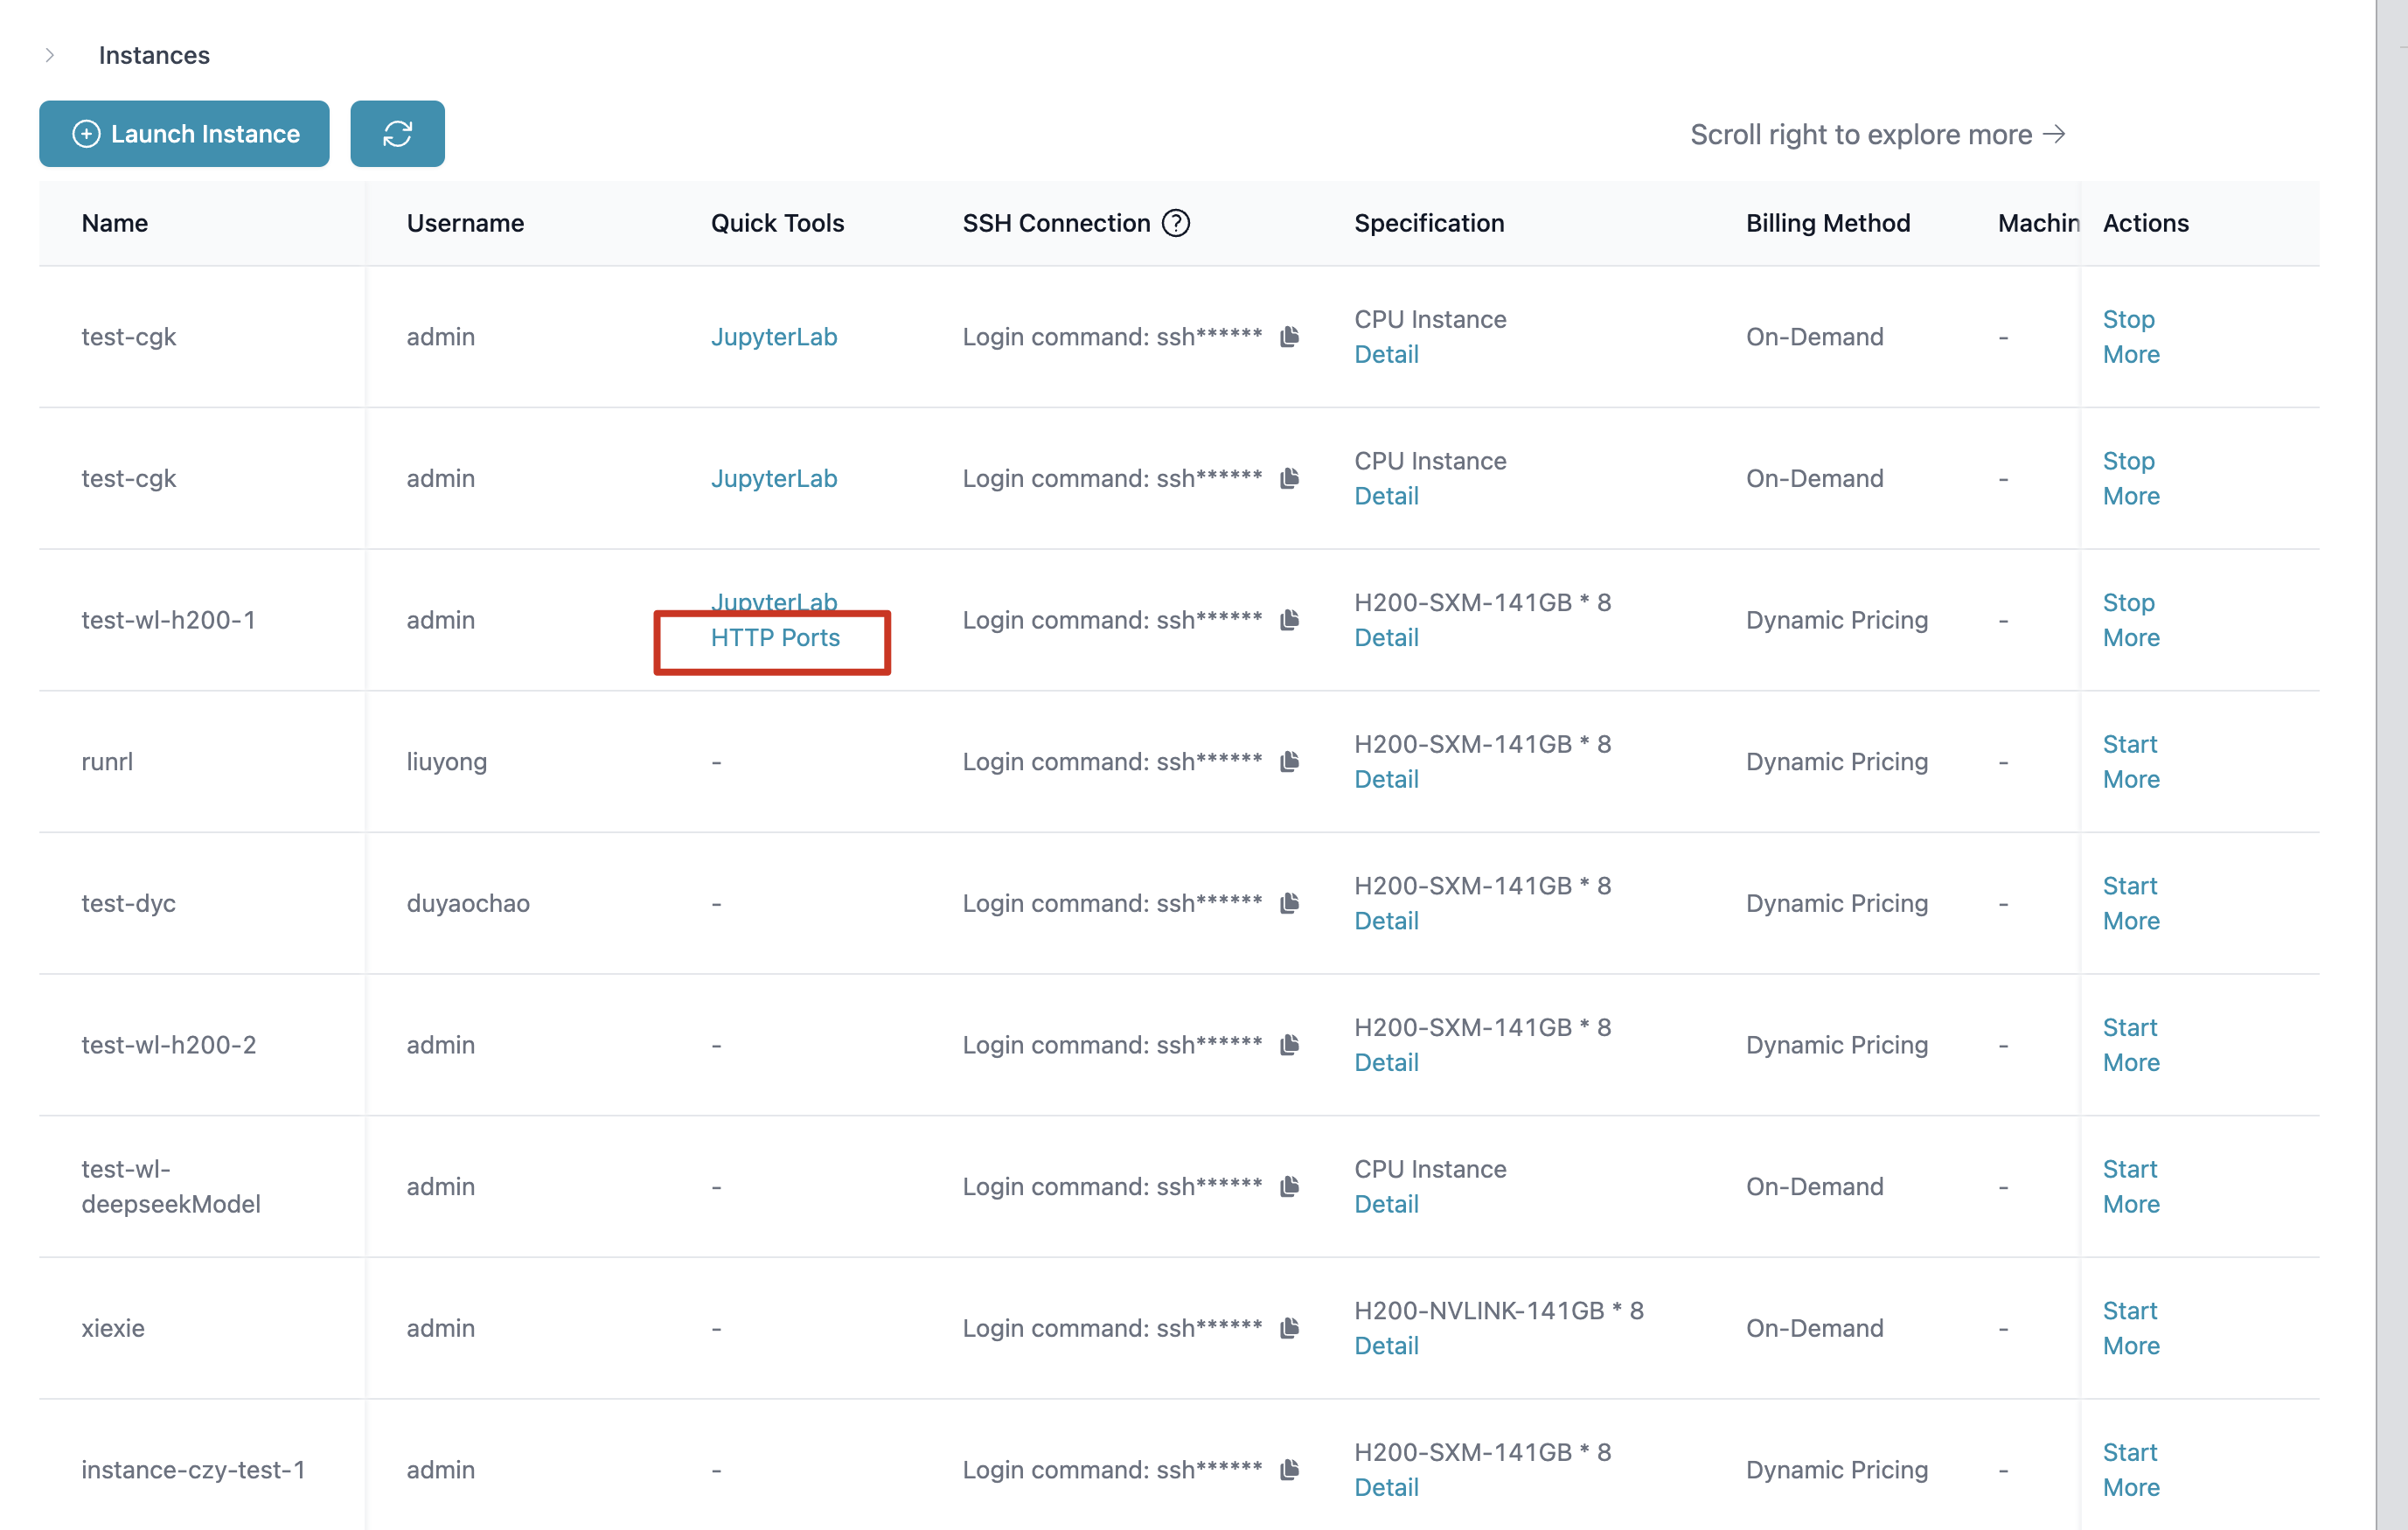
Publish your service by configuring instance startup options and enabling HTTP ports.
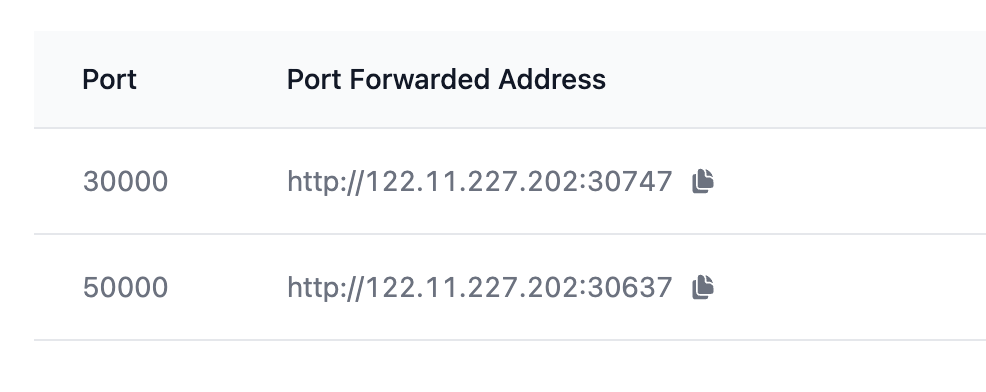
-
Test the service of your model
curl -s http://[HttpPortsAddress]/v1/chat/completions \
  -H "Content-Type: application/json" \
  -d '{
    "model": "DeepSeek-V3",
    "messages": [{"role": "user", "content": "Hello"}],
    "max_tokens": 50
}' -
Terminate the service when finished
ps aux | grep sglang.launch_server
kill -9 <PID>